Whereas men in business think nothing of discussion the football/rugby/cricket results, it would be a brave woman who started a discussion on Milan Fashion week, Sarah Burton’s design aesthetic or the Orla Kiely for Clarks collection.
Orla Kiely for Clarks
The topic of fashion is often seen as lightweight, vain, affected or dull. And yet, like most things, fashion – specifically the clothes that we wear – is full of meaning, relevance and political significance.
Don’t you think that what these people are wearing is important?
Many of the more thoughtful fashion blogs and women’s magazines will rail against
the cheap labour regimes that mass produce clothes
the disposable clothes culture (“Fashion!”) and rampant consumerism
size zero and “body fascism”
animal cruelty allegedly associated with fur, (but generally not worrying about leather)
For me the politics of fashion is much more subtle and affects all aspects of life. So far I have written about the following political subjects.
I am to some extent affected by being a senior woman in a male dominated field. There is an old adage; “if you can’t beat them, join them”. This means studying the sports pages before meetings, so you can intelligently discuss Mourinho’s options.
Man talk
But there is also another way. One or two female chief executives and I have a little game. In meetings where the men start with football chit-chat, and pepper their contributions with sporting analogies , she and I work hard to “weave in” phrases of a feminine nature, such as knitting, stitching, ironed, polished, patchwork/tapestry (but never rich, please), tidied, crocheted, woven, gathered and swept up. It even gets a bit silly, and it is hard to say this stuff with a straight face, it does lighten a dull meeting. I have always felt that humour is more powerful than self-righteousness.
Oh gosh, Stephen really dropped a stitch, didn’t he?
It’s just like making an omelette – a nice snack then half an hour of cleaning the kitchen!
Shall we just baste the pocket on, and then see how it looks, Keith?
Susie, have you ever found, when you are dusting, that you have a great idea for creating a Garden City in Essex?
Burberry is famous for the Trench coat. Yes, the coat the senior officers wore in the trenches in the First World War. This autumn Christopher Bailey has excelled himself with a marvellous set of hand painted trench coats and other items. Just as I was thinking about painting some silk to make into a garment daughter-in-law Bianca (who works for the company) sent me these gorgeous images.
Hand Painted Organdie coat
Organdie is a very crisp, transparent cotton that I use as interfacing. It is inexpensive and quite nice to sew with, although somewhat rough. Do you think they paint the cloth first and then cut it out? The orange flower suggests a join; the lapel seems to have been stitched and then painted.
Hand painted Nubuck coat
Nubuck is a soft leather similar to suede but it is made from the other (out) side of the leather.
Silk dress
The dress is not hand-painted. Rather the fabric is printed with a hand-painted design. But it certainly shows how nice a hand-painted silk dress might look.
Handpainted sheep skin coat
The sheepskin coat is the one I like the best. The scale is smaller and it is the most ornate of the handpainted coats. In this case there is no doubt that the coat was made up first and then painted in the round. The whole collection is inspired by the work of Duncan Grant and Vanessa Bell, and this one is the “truest” in my opinion. I also like the cashmere scarf where the design is painted then printed onto the fabric. There are bags and shoes too.
Cashmere scarf
Lovely, lovely, lovely. Very expensive. I want something like this in my SWAP. Don’t know yet how I am going to do it. But I am smitten.
The invitations have been sent out, and we are expecting around 50 people to come along. 80 wraps (lamb, chicken and falafel), baklava and fresh fruit are coming from Maroush, and Kit’s Grandma Faye has promised a big pot of curried goat, and rice.
Invitation to the Christening
Kit tried on the Christening robe and, thankfully, it fits. I had been worried that Kit at four months might be too big for the “up to nine months” sizing. I may need to tighten the elastic in the sleeves at the last minute, but so far, so good. Ted said his brother looked like a ghost, and tried to get into it too. My daughter was impressed with the modern-traditional robe, but asked for a little matching hat. Unlike Ted who had an over-supply of hair at his Christening, Kit has, well, none that you would notice. And I did have a spare piece of rice-printed cotton left over. In fact I often have a little fabric left over and always think about making a matching hat (but somehow never do).
Christening robe, first fitting
I looked for a pattern for a little sailor-type hat on the internet, but could not find anything suitable. Therefore I made a simple pattern that I thought would work, and here is the toile, made up in Ikea curtain linen (unlined). It is a long time since I made tailored hats, but it was rather satisfying to create this miniature garment. Baby’s head is 17″ circumference, whereas the toile measures 18″ so I will make it a tiny bit smaller in the final version. I also intend to line it.
Toile for baby sailor hat
Sailor’s hat instructions
Measure the circumference of the head
18″ divided by 6 = 3″ (obviously in my example this is for a baby, but the same principles apply to any sized head)
create a pattern that is 3″ at base, goes up two inches with a very slight narrowing, then narrows to a point. Add seam allowances to all edges. Cut 6 pieces of fabric, and a further 6 of lining
create a band that is 2″ deep and 18″ long, and add seam allowances on all edges. Cut 2 pieces of fabric
Two pattern pieces
Stitch two hat segments together, then add a third one creating a nice point at the top. Press each seam open carefully, cutting in a notch at the 2″ point.
pin the two halves (3 segments) right side together and sew in a nice curved seam stitching across the points. Press open seam, using the end of your ironing board, a sleeve board or point presser
make the lining in the same way and pin it to the hat, wrong sides together, matching all the six seams
Now stitch the two brims together along one long edge, then open out and stitch together across the short ends to make a tube, press. Turn out so that the wrong sides are together
pin the inside layer of the brim (unstitched long edge) to the hat and machine it to the hat and lining.
turn the seam allowances up on the outside of the hat (beyond the seam) and bring down the folded-over edge of the brim to cover it.
slip stitch the edge of the brim to the lining at the stitching. (Gosh, it is hard to write instructions, isn’t it?)
Rice print Christening cap
I will post photos of the Christening. I think the outfit needs a bit of spray starch and a good press. Otherwise I am done.
Dawn is a good friend of mine. She is a senior civil servant who has worked on housing, neighbourhood renewal, resilience, planning, fire safety and flood recovery. She is a gorgeous young grandma, and we meet up from time to time to enjoy a nice vegetarian meal at Grainstore in Kings Cross. We don’t see eye to eye on goats cheese (she loathes it) but otherwise we have a lot in common. She has been following this blog since it started and told me that this had encouraged her to take up sewing again.
Dawn – cool stitcher
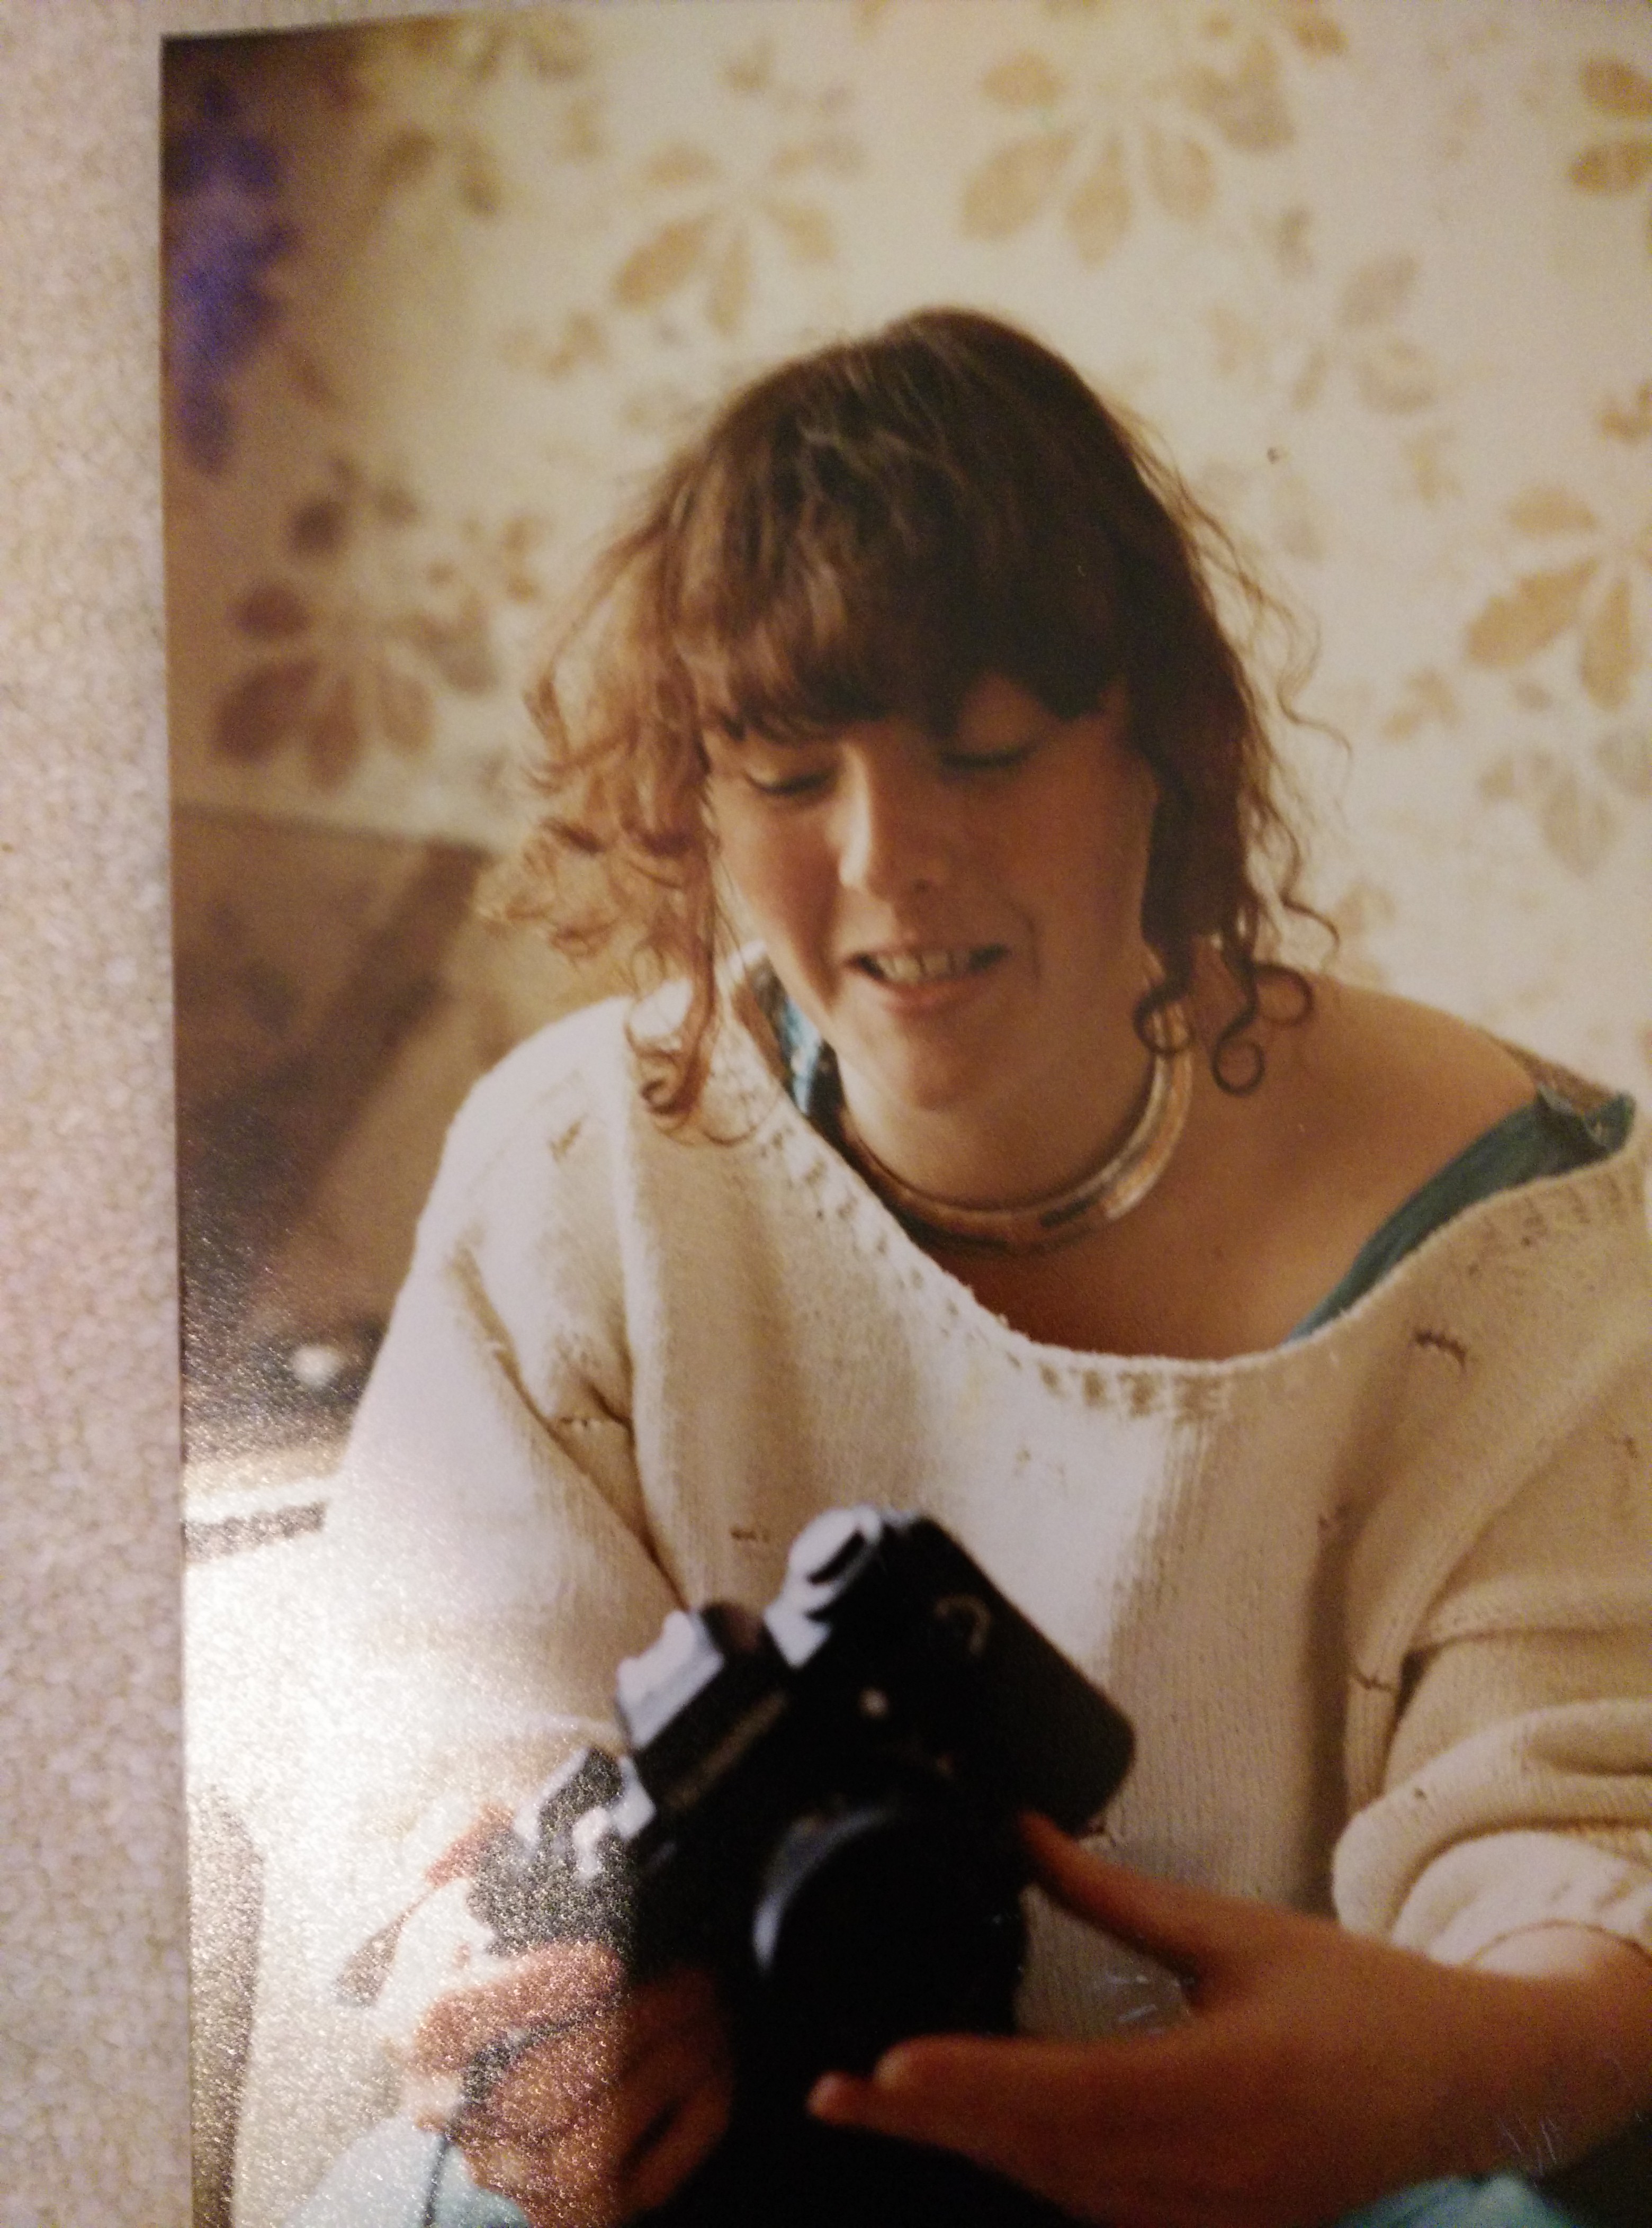
I first started knitting, not sewing, in my late teens. Luckily punk was in and so were holey jumpers! I was a riot of mohair and black string knits. Not all were punky though, and on occasion I made more classic and sedate patterns. This big 1980s jumper was made with cream cotton yarn, customised with little caterpillar holes made of string! The little holes were formed by just knitting in a short piece of string for a row or two. My Mum taught me to knit, an I took it up more seriously when she said didn’t want to always be knitting in black, so I had to knit my own. And my Mum taught me to read a pattern. It was like learning a new language. Having said that I don’t remember following patterns that closely, and certainly don’t remember buying many in shops. I guess I must have inherited them. Knitting did not seem to be that common amongst my friends, and I do remember a fair bit of “Make me one, please!” I thought I put down the needles after I had my first daughter (I did manage the traditional baby cardigans and bonnets) but an ex reminded me that I had in fact knitted him a jumper some years later. And it is a skill you don’t forget. I am the process of teaching my younger daughter how to knit – how about that?
Dawn in her 1980s jumper
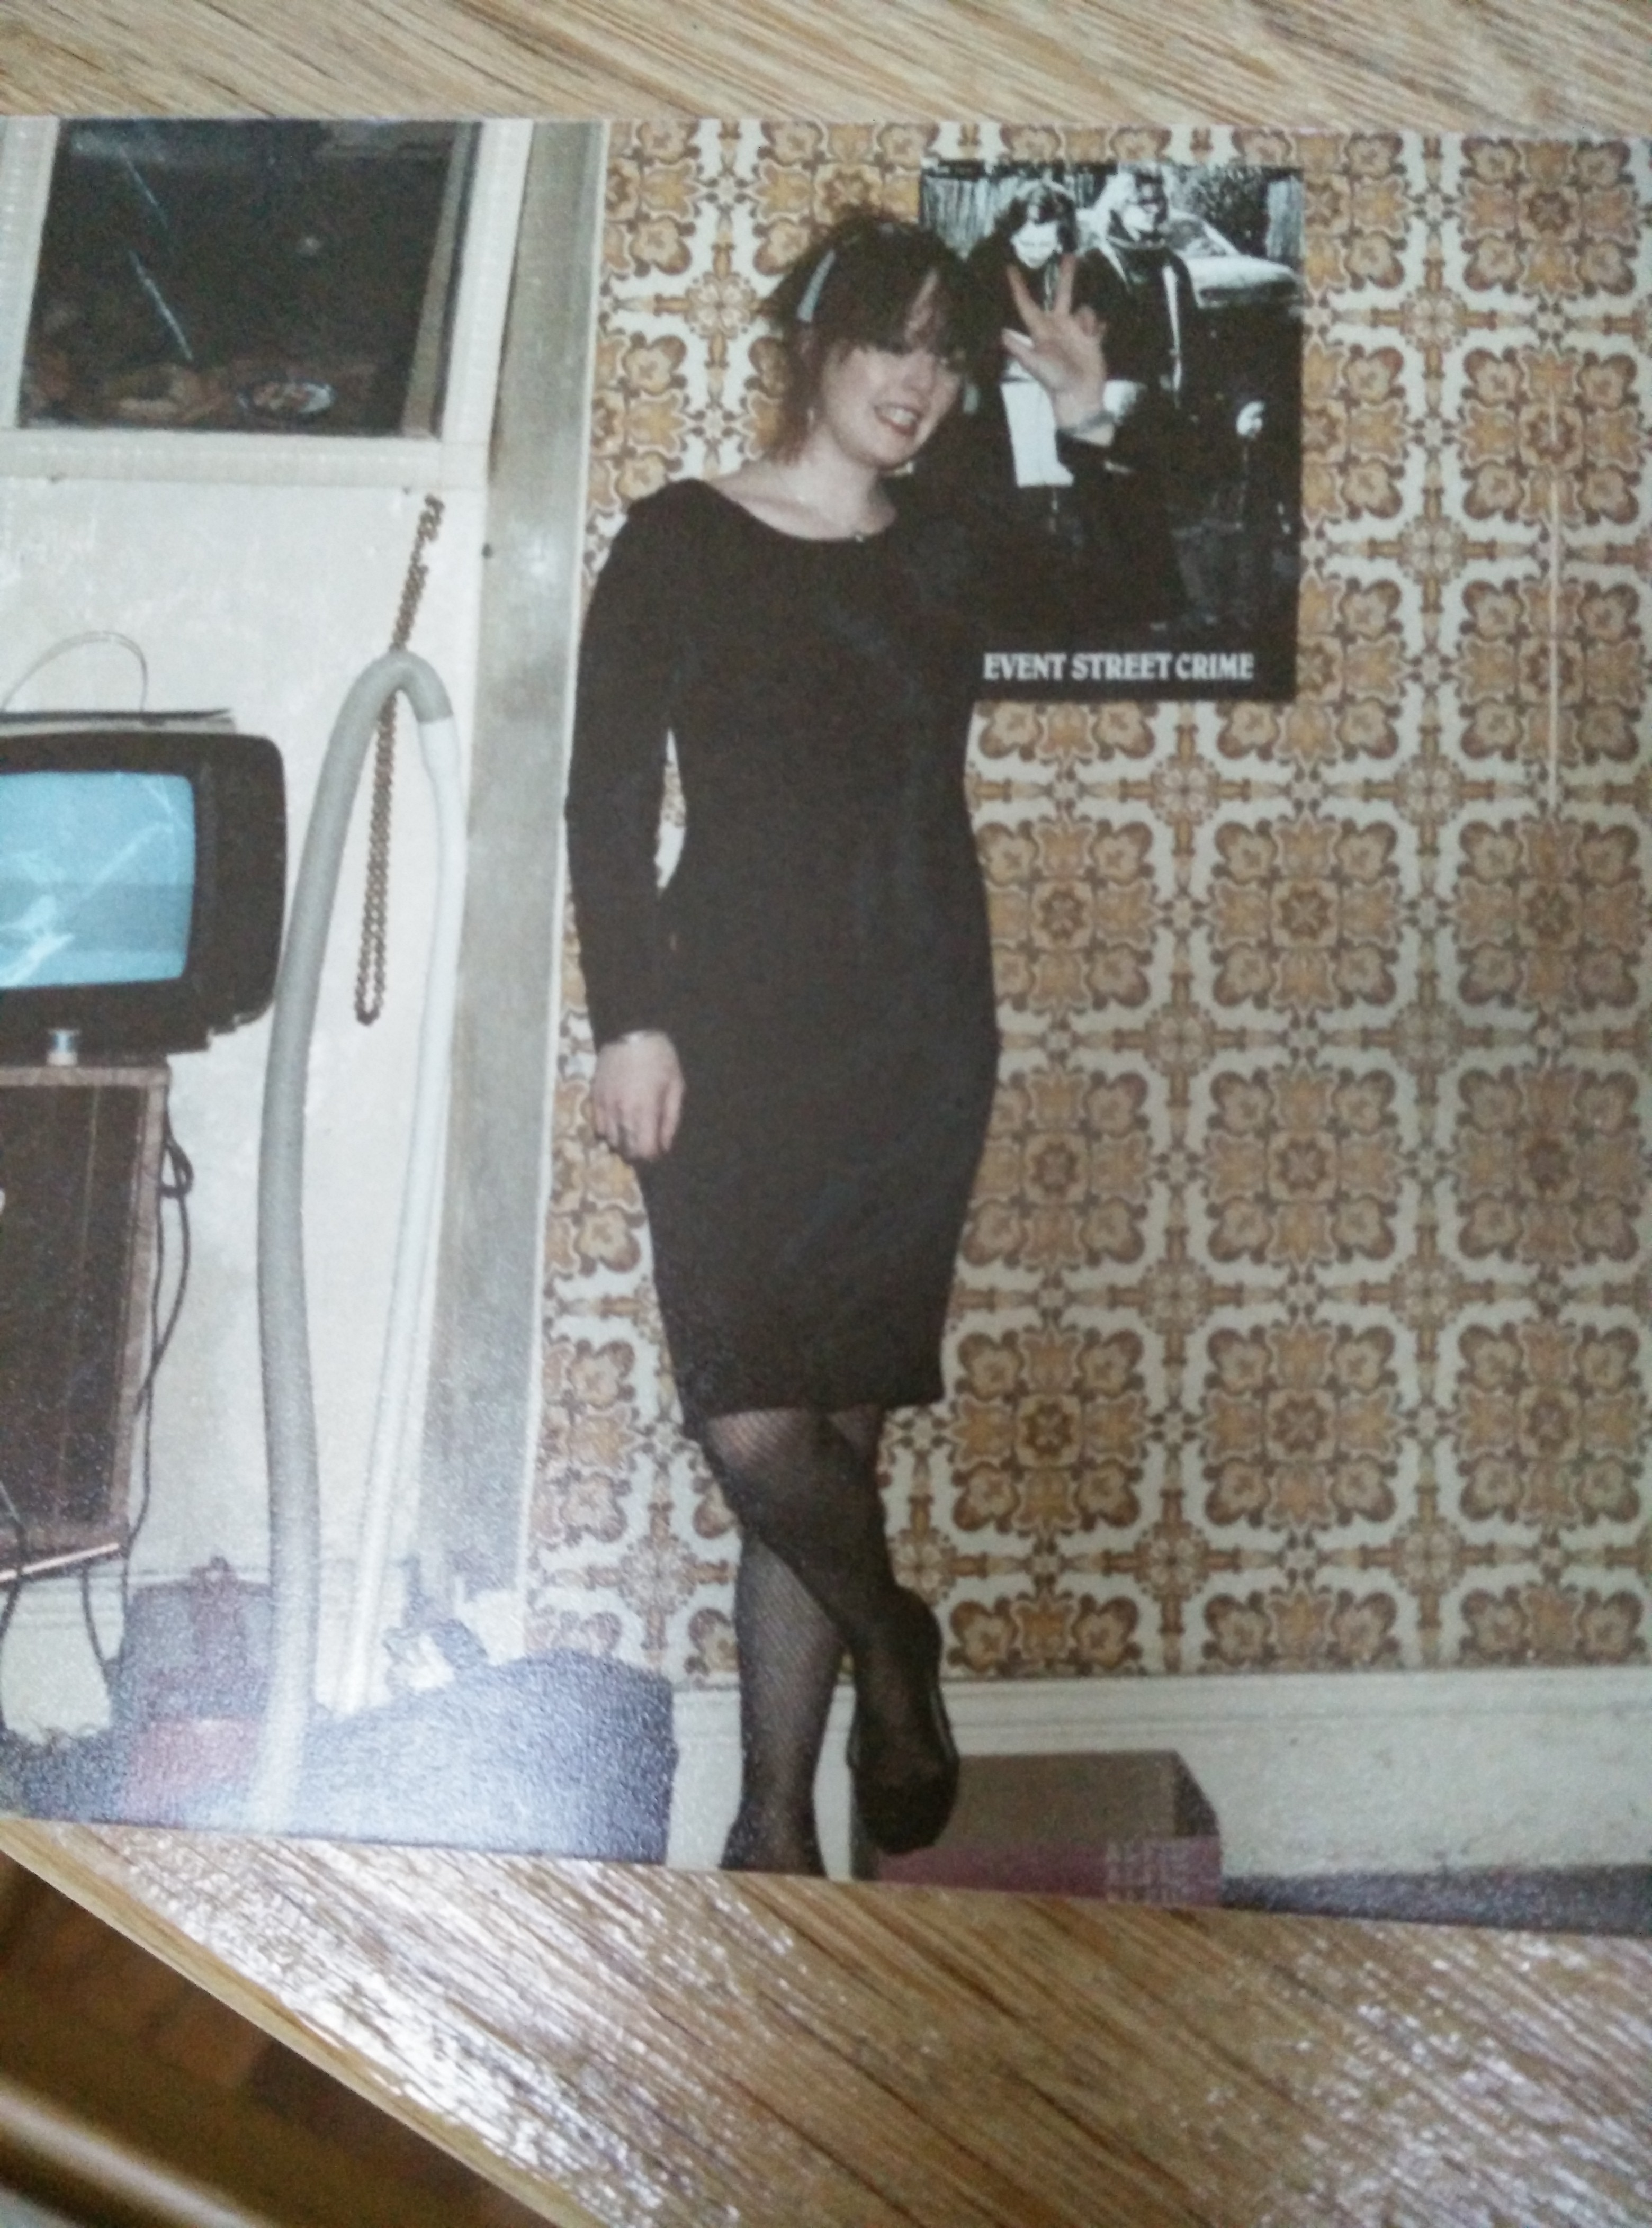
I loved knitting, navigating complex patterns, learning new stitches, but boy, was it slow. And restrictive – I didn’t really fancy the idea of a knitted dress or skirt. Another jumper anyone? So I bought a sewing machine, a lovely old Singer – the sort you now see decorating the windows of AllSaints branches up and down the county. Soooo much quicker. And so easy, all you needed to do (all I did) was cut round the clothes you already owned. I don’t have many pictures from those days, but here is a vintage velvet dress (no I didn’t make it!) that I got in Aflek’s Palace in Manchester. The picture is taken in typically slovenly student digs, and I was getting ready for working a shift in a rather seedy nightclub. It was a gorgeous dress and I always felt very glamorous in it. I used it as a template for countless slinky dresses with ill-fitting zips up the back. My technique was quite basic. I literally pinned the dress, arms outstretched, to material and cut around it for the front, doing something similar for the two back pieces, adding a centimetre or two for sewing. Sewing the pieces together was always a bit hit or miss, and I had to make a lot of adjustments as I went along. Not I know a bit more about sewing it’s a miracle that my approach produced something wearable! I never used darts and always had a bit of trouble with the necklines.
1980s velvet dress
Using the ‘cutting round things’ technique, I made trousers, tops, skirts (they were dreadful, I could not do waist bands), and even an unlined donkey jacket in two shades of blue corduroy – nothing fancy like leather, but I did have buttons, which was odd, because I don’t remember being able to do button holes! As I recall, the jacket was one of my more sophisticated projects, the jacket itself borrowed from one of the boys in the house, with the component parts (sleeves, collar, patch pockets), cut out in newspaper before I let myself loose on the material. It wasn’t very warm in coldest Manchester, but I did wear it over the rather better made jumpers!
Below is one of the other few surviving pictures of the time. Here I am wearing an off the shoulder top and trousers. The top I definitely made, from some cotton picked up on the market, I don’t think I made the trousers, but did use them as a basis for similar trousers. This picture was taken by my then boyfriend in the local park, somewhere in the mid 1980s. You can see I didn’t care too much then what I looked like! You’ll also see, that I still had problems getting the neck right. It was cheap, fast, and fun. When you are twenty it doesn’t matter that things don’t fit well and the stitching is a bit wonky – I was only ever wearing most of the stuff in the dark and didn’t expect it to last long anyway.
hand made top and trouser
Nowadays sewing is my hobby. I rediscovered it after a gap of more than twenty years (during which I mainly only sewed to take up trousers, sew on buttons and make the odd set of curtains). Inspired by Fit and Flare I decided to brush off my so called skills and had a few proper lessons locally with a lovely woman called Joy Moore, spending two happy weekends in her workshop learning to sew straight (the machine does it for you, who knew?), appliqué, interlining, covering buttons, button holes, hemming, seams, waist bands, putting in a zip, and the importance of ironing. I also learned the basics of following patterns. I made some cushions, place mats and this little baby’s dress.
Appliqued girl’s dre
I can now follow a pattern, but honestly, I found it easier when I just cut round things! I desperate to make something that fits! I’m researching how to do pattern adjusting properly (all tips and hint gratefully received), as everything I’ve made so far still gapes around the neck and/or arms (as the pictures at the top show). I have three projects in the queue at the moment. For the quilt I’ll be following a pattern in a book I got for my birthday (Sewing Made Simple, by Tessa Eveleigh). And once I know I can make things that fit, I’ve a whole stash of material building up and waiting to go…
Since discovering the joy of painting on silk I have often prepared painted silk linings for my projects. I thought I might make a hand painted silk blouse as part of my SWAP this year. My main colour way is likely to be charcoal and magenta. So I have been thinking what colours will work well with those two? I think green (mint green/emerald) would be a good complement to the strong pink. But blue would tone well with the greyish blue. So, also using pink and grey I have had some fun painting silk off cuts to see what might work. At this stage we are not looking at the “design” of the colours. I just dappled and daubed. We are looking to see how the colours work together with each other, and bearing in mind this is to wear with a charcoal suit.
Pink and Grey pattern
The Pink and Grey pattern takes just three colours – magenta, grey and black. I am not sure I like the shade of grey here. It’s just a bit too brown and it reminds me a bit of an animal print.
Minty pattern
The green sample started with a wash of emerald green but it looked insipid, so I added a less diluted green on top. Although this is quite boring – just one shade – it might actually look best in wear, as it will create a nice, calm harmony with the deep grey. These fairly light/bright blues and greens suit me. And by having just one colour I could wear this blouse with just about anything in my wardrobe. Of course any single colour would work well, eg pink, grey, blue or purple. Now let’s look at the multi-coloured patterns.
Green pattern
Here we have the same emerald green, this time introducing pink/red and grey/black. I like this. Fresh; with the green and pink complementing each other.
Blue pattern
This one leaves out the green and brings in a fairly bright blue. This is probably my favourite colour scheme. Bright blue with clear pinks reminded me of summer roses, pinks, cornflowers, summer skies and soft clouds. The white (actually natural silk is rather creamy), and the greys stop it looking too sickly. So using the idea of summer flowers I did this.
Summer Flower pattern
This pattern brings in all the colours, and it is my favourite. However I wish the background were whiter. This design reminds me of Duncan Grant and Vanessa Bell’s Charleston Farmhouse, and a textile she designed (see top of post). I must go their again – it is such an amazing place.
Red pattern
Finally I tried purple as a sort of half way house between the pink and grey. But it looked a bit dirty. I added some red.
As the yellowy background is not working for me I thought I would try painting on a light grey silk instead. I have some gorgeous heavy weight, glossy, slightly ribbed grey silk. Compared to the relatively lightweight lining (habotai) silks I usually use for silk painting this is a much more sturdy product (but still very drapey and silky). It would certainly be good for a dress, skirt, or even a summer coat. So I cut off a couple of swatches and tried painting them.
I stuck with the same colour schemes but found something interesting. i just painted on the colours fairly quickly and they hardly bled at all. The down side of this fabric is that it really absorbs the paint so it would use a great deal more product. But the shades are vibrant and strong.
Grey floral
I tried some more geometric shapes, and found the silk held straight lines fairly well, using pink, black and green.
Grey geometric pattern
I don’t know if I will use any of these colourways, or even if I will use a painted silk for one of my SWAP blouse. I may do something completely different. But I like the flower pattern a lot and might use it for a summer dress. The heavier silk may work well as a jacket or loose summer coat. Hmm. As ever, please let me have your thoughts. It really does help.
In preparation for the SWAP I have been experimenting with a reversible skirt. You might ask – what’s the point?
an interesting challenge
two skirts in one (good to take on holiday if you have a tiny suitcase)
the pleasure of combining fabrics or using cloth that is just so nice on the reverse that it is too good to cover up
the opportunity to make something as nice on the inside as the outside
could add warmth
The simplest idea is to use a (tried and tested) “TNT” pattern such as my Curvy Pencil skirt (which has facings rather than a waist band). With a full length, open ended zip at the centre back seam it could be reversed quite simply. And perhaps instead of facings I could finish the waist and hem with bias binding, wide decorative facing, or perhaps a fancy trim. The more obvious approach is to create a wrap round skirt. This removes the need for a zip and allows the alternative face, or fabric, to show itself occasionally as the skirt flips open in wear.
One common approach to the wrap-round reversible skirt is to sew two complementary fabrics together, as if one was a bagged out lining. There are loads of tutorials showing how to do this on the internet, but as our American sisters say on Artisan’s Square “too granola”.
Dutch RTW reversible skirt
These skirts are somewhat crafty and hippyish. I have to admit I have one (see top picture)I bought in Amsterdam. It is a four way skirt, and the “pocket” is detachable and can be used as a bag.
Dutch skirt
The belt portion unzips and can be switched too. The reverse side is shown below.
Dutch skirt – reverse side
I really love this skirt which I usually wear over trousers as it is a both too short and too thin. The reverse side is pretty dull, and the skulls are upside down. I bought it partly in order to make something similar, but in wool, and knee length. But it would require a very long, non-standard zip, and lots of press studs, and it may just be too much work in this time frame. So I am inclined to use a simpler option for the reversible skirt.
I plan to use a “two-faced” woven fabric. Hilarious – the idea of the cloth chatting negatively about you behind your back.
Have you seen her hems? She rarely bastes them. And she doesn’t always change the colours in her overlocker either! Oh hello, dear! What marvellous design are you going to wizz up today?
Fabric choice
At the Oxfam shop I bought two old Ikea linen curtains, made in Russia. I unpicked the seams and used one for my toile. Clearly not the right fabric either in terms of composition or reversibility but I wanted to test the pattern and practice the necessary finishes. It has faded unevenly in someone’s window but it has a drawn thread detail on it. I thought I might work this into the skirt but the grain placement prevented it. (Even your toiles are pretty, dear! She is so slapdash when trimming her facings, you know.)
Linen curtain from Ikea
Obviously with a reversible item there can be no rough edges. All the seams and finishes must look good on both sides.
Pattern choice
Vogue 8961
I found I had a suitable (1977) vintage pattern. I took out the darts because these would be unsightly on the finished garment, and as it is a flared skirt this was a simple matter (don’t tell the cloth but I pinched them out). I also shortened the skirt.
Vogue 8961
Here is the toile. I don’t feel very strongly about conventions on which side you button things up on, so I am happy with reversing the wrap. It is not a wearable item, but I like it, and think in a quality cloth it may be quite nice.
Construction tips: How to make a reversible, wrap round skirt with double faced cloth
Chose a nice woven fabric that is either a true double cloth (effectively two fabrics attached to each other, or bonded), or is simply a woven that has a distinctive front and back. As you will not be using a lining make sure it is the sort of cloth that can be used unlined. You may have to wear a petticoat with it.
Design, adapt or choose a simple pattern, ideally without darts. A slightly flared design will work well. Consider adding a greater seam allowance, say 7/8″ so you have plenty to play with when making the flat fell seams.
The flat fell seam is the one to use on all your main seams. Make them very nice and even, measuring carefully and basting first (as advised by your opinionated, two-faced cloth)
Hem by machine, creating a shallow hem that looks like your flat fell seams. Alternatively consider using bias binding although I don’t think visually this has any advantage over the machined hem. Measure very carefully when hemming so that the wrap over extension sits exactly on top of the skirt otherwise it will look shabby.
The wide front facing, important if you are creating button holes, can be a design feature that matches the waist band (in the alternate faced fabric). Making it wider may help to balance your design.
Consider the closure carefully as this will show on the wrong side. I went with two sets of buttons and one set of button holes, but a kilt pin might be much nicer on a woven, with two discrete hooks and eyes at the waist band. With sufficient wrap over you won’t have to worry about showing your underwear.
On my toile the buttons were on the left (as on the Vogue 8961 pattern) on one side, and on the right on the reverse. This meant I did not need two sets of button holes. The buttons also sit in the same place but need to be attached to each other through the cloth. It is advisable to use flattish buttons on a reversible skirt.
I am not sure at the moment where I am going to go with this one, and would welcome your views please.
There is an annual contest called Sewing with a Plan, or SWAP for short. It is organised by the Stitchers’ Guild, and is an amazing opportunity to work on your own projects along with others, world-wide. The skill level is high, but no-one is excluded. There is a lot of enthusiasm, advice and support available and I would like to encourage anyone who sews to join in this year. It is free to enter, and there are no prizes. But if you get a beautiful hand-made wardrobe, with several items that work together, in colours and styles that suit you and fit well, then you are definitely a winner. I intend to post my progress every Saturday over the next six months, and warmly welcome feedback at any stage.
The rules have just been published, and here is a summary.
We need to make 11-garments, with all the tops working with all the bottoms, and wildcard garments that work with every other item.
5 tops
3 bottoms
3 “wildcard” items
At least one garment must be reversible, transformable, or up-cycled from another garment. For instance: a dress that can be worn as a shirt, a pair of pants that can roll up to be worn as shorts, or a jacket that can also be a dress. “Up-cycling” includes remaking an older garment into something new, taking a vintage pattern and modernising it into a more current style, or recycling the fabrics or notions from another item to incorporate it into something new. The original item to be reworked does not need to be a garment; you can remake a dozen scarves into a skirt or transform an old handbag into a collar and cuffs – use your imagination.
The “wild card” options can be just about anything you like, but they must be “garments” not accessories. One of the garments can be purchased, and one can be made before the official sewing time which is 26 December to 30 April. Between now and Boxing day the idea is to plan the wardrobe.
I joined in last year and really enjoyed it. I was pleased with my set. I have worn the outfits consistently, apart from the pink jacket.
In my opinion the key thing is to get the fabric choices right. I cannot plan in detail until I have the cloth. While I could plan out a colour scheme first I would then have to buy fabric to work with the colour scheme which would imply buying it “off the bolt”. My own approach is to buy offcuts, remnants, charity shop finds, end of roll, damaged goods etc. I do this for reasons of economy and I find it more interesting. I have always thought any fool can make a great meal if they have a Sainsbury recipe card and all the items listed on it. My skill is on rustling up something appealing with a bag of frozen peas, a packet of spaghetti and a few random things at the back of the fridge.
I have tried before to start with a set of patterns, but I soon realised that without the fabric I can’t really deliver it. So the planning period is, for me, the fabric hunt. While I have no particular colour scheme in mind I am short of yellows, purple, red and green in my wardrobe. Some of my daily basic (neutrals – navy, grey, dark green) suits are showing wear and tear. However I am keeping an open mind.
Current wardrobe
From my experience last year, in order to make everything work together, it is desirable to get some patterned fabric into the mix, and to use this as the inspiration for the whole set. I take this concept from French interior design. Their idea is to choose a nice chintz for the curtains, and then use this colour palette for the rest of the room.
French Chintz
If this chintz was your curtaining, then you could for example include a dark green carpet, a white sofa, blue lampshades, pink cushions and a deep pink chair. It works and if you want to put a limited wardrobe together this can be a really helpful idea.
When I made my last SWAP I had a multi-coloured floral cardigan that I used as an inspirational palette and it pulled everything together. It is a type of chintz really, and I wear this cardigan a lot with turquoise, pink, red, dark green, white and blue dresses, skirts and trousers. I really like the colour scheme and it suits my colouring. My SWAP may depend on finding an item like this to start me off.
Joules Cardigan
An alternative is to find a woven fabric with quite a lot of colour in it and use it for the coat. One idea I have (as I like to use English or Scottish products) is to use a Harris tweed for the coat. Many of the fabrics are soft muted shades which I don’t really go for. There are some great bright Harris tweeds available now, and it is easy to see how they could lend themselves to a creative colour palette.
Harris Tweed
Last year I used a few peices of Linton (English) tweed. Another idea might be to use tartan. I would like a green and navy tartan, but is there such a thing as a reversible tartan? Who knows. But this might mean paying full price, off the bolt. I will have to start looking.
Tartan
While many participants start with patterns, often relying on their “tried and tested” patterns, I have no specific patterns in mind at this time. That too depends on the weight, colour and type of fabric. So the 11 garments I am planning to make, which may change a little, is
two suits, each with a matching blouse (6 items)
skirt and blouse (2 items)
a pair of trousers and purchased knitwear (2 items)
a coat (1 item)
If the fabric works out one of these items may be reversible. Otherwise I shall probably be using vintage patterns, buttons and fabrics, so that would meet the reversible/up-cycle requirement.
About the process
I will be posting a SWAP update thread on Artisan’s Square and here, every week. Last year I didn’t have a blog, and I didn’t share my thinking with anyone. Putting a fully formed wardrobe of 11 outfits out there at the end came as a shock to me as well as those who voted. This year I will be doing my planning, and my sewing, in public as it were. This will be a different experience for me. I will share the experience in case anyone finds it of interest, and to record my own progress for myself. I do worry that my mistakes, blind alleys and changes of plan might undermine the idea that the whole thing is first constructed in the imagination and then carefully executed. Others will have the skill, expertise and thinking style to work like that, but I cannot do it. I make it up as I go along and may well be madly sewing completely new and unplanned items in March 2015.
When I was at school we were much amused by the notion of an “Over shoulder boulder-holder”, and amazed at the impact that mammary glands could have on the opposite sex. But as we grew up, we persuaded our mums to buy us our “first bra”. You may never have seen a girl’s (as opposed to a woman’s) bra. Bras for girls look like a pair of Y fronts – rather vile and slightly medical.
Junior bra
When we had finished giggling, and got used to them, we came to value our bras. We soon realised that one of the most important items in a ladies wardrobe was the brassiere. Worn everyday, working tirelessly, and usually unseen, a good bra provides
support
comfort (I feel cold without one)
a good shape under clothes
modesty (have you noticed that nipples have been banished by today’s thicker bras?)
1970s advert
I spent some of the 1970s braless, and I was a vegetarian too. But eventually I found that running for the bus was both uncomfortable and unnecessarily attention-seeking, and I did what everyone did. I went to a department store to be professionally measured.
This is not a pleasant experience. To have a middle-aged lady – “June? Are you free for a fitting?” – come into the dressing room with you and whip out her tape measure, and measure you over your jumper, was somewhat strange. Then she would pronounce the verdict -“Hmmm, 34C, or maybe a D? I’ll get a 32D for you to try too.” And you shiver in your undies while she wanders around the shop looking for a bra, any bra, in roughly your size. She re-enters triumphant with a crusty black number with thick straps, or the baby blue Cross Your Heart number, or something with guipure lace and lots of padding, or an item with wire that digs in horribly. The ones you try on seem to have a cage built in, or they make your breasts pointy, or the filmy nylon itches you like crazy. And some of the offerings are so high cut that you believe they will show under a low cut top. But you are too embarrassed to ask for something more youthful, or frankly sexually appealing. So in the end you just more or less grab an inoffensive beige one and make a quick dash to the till.
If you are still buying bras in supermarkets, and popping approximately the right size into your trolley without even trying it on, please stop.
1977 M&S cycling bras
There is another way. You need to be quite grown up and confident to do this.
Go to a specialist shop, where they don’t sell anything else other than brassieres (and possibly swimwear). The women who work there are properly trained and spend all day, everyday, fitting and selling bras. They are experts. They know what size of bra you need without touching you, or measuring you, although they do take a look. Listen to their advice. Try on the proffered bra.
A good bra doesn’t dig in. It doesn’t divide your breasts into an in/out category. The flesh under your arms and on your back will not seep out. Your breasts will sit perfectly inside the cups like the bra was made for you. It will feel comfortable, but firm. Like someone nice is holding your breasts up for you. You should be able to run comfortably in a good bra, although if you do run get a sports bra too. Put a T-shirt or jumper on over the bra and check how it looks. The outline of your bra will definitely not be visible – everything will look streamlined.
This is the bra that was chosen for me. A good bra, like a good haircut, is expensive, but a decent bra has, in a small way, changed my life for the better.
If you like a pattern, and have altered it to fit you well, and it looks nice on you, and you wear it a lot, why not make it again? This is Vogue 1749, a Diane Von Furstenberg dress.
I am wearing this dress today, and publishing this post, to welcome Diane to London. My dear friend Anne-Britt Karunaratne had offered me a ticket to hear Diane herself discussing her designs. Unfortunately I have to speak at a conference on The Future of London, so bunking off work is not feasible.
Vogue 1749
The first version of this dress was in a piece of jersey I found in the remnants bin at Simply Fabrics. I loved the three shade of blue with a brown smudge. I liked the scale of the design, and although you can see the hem is a little dubious. (It was cut nice and even and stitched neatly so its just jersey doing its own thing). On a cold day I wear a light blue, brown, navy or grey T shirt under this dress, and a navy or grey jacket. Sometimes with thick tights and boots, other days with sheer tights and courts. Its very adaptable as a work dress and my husband always says I look slim in it. So I thought I would make a second one. At the same shop I found another random length.
The jersey for the second version was slightly stretchier than the first one, and I love the colour scheme with a dark blue back ground, light and deeper grey and two shades of turquoise and touches of white. It is maybe a bit more 1970s. But it is pretty close to the first one, isn’t it? I am wearing it with thick turquoise tights, grey laced up shoes, and a white T shirt as it is getting colder. (I think the necklace is a bit big, by the way. It’s all that Frida Khalo stuff I have been reading recently).
Grey, navy and turquoise viscose jersey
Dress number three used a different type of jersey. Again it was a remnant so I can only guess its composition but it definitely includes polyester. I haven’t done a burn test but you can tell from the slight “squeckiness” of the cloth and the fact that it has less softness and drape compared to the cotton and viscose jerseys.
It has a deep blue, slightly greeny, background and reminds me of the curtains they used to produce at Rainshore. I was amazed what a difference a different fabric made – the slightly firmer fibre in this jersey affects the stretch quite a lot and it is a much more structured dress. I like it more as a result, as it holds its shape better, but the softer jersey is ultra comfortable. Anyway the lesson of using one pattern three times is of course that the fabric choice is everything. Even a slight variation in the composition of the cloth (all are more or less the same weight) comes through strongly in how the dress makes up and how it looks on.
Dark blue-green polyester/cotton jersey
In conclusion
This pattern, or the perfectly acceptable “own brand” version from Vogue, is a delight.
Vogue 8379
The construction is simple, logical and successful. The instructions are straightforward. It takes one evening to cut out, tailor tack and prepare the facings and tucks, and a further evening to sew it all together.
It does have one design fault – one I encounter often – facings that won’t stay put. Even with labourious, graded trimming, careful measuring and understitching, and regular pressing throughout the construction process they do not behave. I always have to tuck the facings in when I dress and they do creep out from time to time. On the third version I tried something new.
Fabric glue is not a product that would have occurred to me, but my mother swears by it for sticking up hems if they come down unexpectedly (!). She pressed this product into my hands as I said farewell last month (for the daughter who sews, a gift of “No-Sew” – do you think it was a message?). I tried it, and my verdict is that it does work. The facings are stuck down with something like iron on interfacing, but without the interfacing, and not quite as good. You apply the glue, let it dry, push the pieces together and then press. If I had met DvF maybe I could have asked her “Diane – Do you glue?”
I love a nice collar! It finishes a garment, it frames the face and done well is possibly the most important part of a garment. Most collar finishes are suitable for both men and women. Here is a diagram from Winifred Aldrich’s Metric Pattern Cutting.
Terminology
Collars can be divided into four main types
Stand and fall collar, which stands around the neck and then folds or rolls over
Standing collar, which fits upwards from the neck
Collars cut in one with the garment.
A flat collar, which is attached to neckline and lies flat on the shoulders.
The Stand and Fall collars
Rever
This is the classic stand and fall collar. The stand usually, and the collar always, are cut separately from the rever, the lower part which folds back from the front. To my mind on jackets and outwear this is the best sort of collar although it is theoretically harder to achieve than collars cut with the garment. Many commercial jacket patterns have no collar or a collar cut with the front, (like View B below) but I find these an uncomfortable compromise. Learning to make a proper tailored collar which is pad stitched to make it roll effectively is one of the marvels of making your own clothes and gives a vastly superior appearance when compared to ready to wear. Look carefully at the break point. This is also a focal point and you want to ensure it occurs at the most flattering position – on this jacket it is below the bust. Also the size of the lapel
Classic tailored collar
Collars cut in one with the garment
Classic roll collar
The roll or shawl collar is cut in one with the garment. This look is very popular on dressing gowns, smoking jackets and tuxedo jackets. It is a look I am very fond of and it is fairly easy to construct. Sometimes the style-line is notched to make it appear to be a rever collar. Sometimes a contrast fabric is chosen, as in View A, so that the front facing forms a feature as it rolls to the outside. If the fall is larger it would be called a shawl collar. Many “easy” Big 4 patterns have collars cut in one with the garment and this might include a rever front (the front of the jacket just folds back into an extension, with no collar stand at the back.
1954 Shawl collar
Standing collars
Shirt
The shirt collar can be made in one, or the collar and stand can be separated. On an informal shirt like this, the collar is usually interfaced but still fairly soft.
shirt collar
Convertible collar
I like a convertible collar as you can choose one of two positions on the finished garment, if carefully constructed. It needs a button and loop under the collar to hold the right front under the left front collar (its beginning to sound like a yoga position!). It is the sort of collar you can button up if it starts getting chilly. I love the hats, especially the little upside box one.
1956 convertible collar
Nehru
The Nehru collar, is a type of standing collar, where the stand is evident, but without a fall. This style includes Mandarin collars, polos and the standing straight collar that was popular in the sixties. I don’t think this is yet an acceptable look for men for work.
Jawaharlal Nehru
Flat collars
These sit flat (or almost) on the shoulder. When designing one it is drawn on the front bodice so it is relatively easy to draft. Although they are currently fashionable, I consider it the least satisfactory collar, and would tend to reserve them for children’s clothes.
Sailor
Obviously these collars, terribly popular for little boys for the first few decades of the twentieth century, were based on what sailor’s wore.
Sailor
I have actually made up this pattern, and I hated the look on me. The full skirt and the wide collar jutting out slightly over the sleeve made me look enormous.
Peter Pan and Eton collars
Again, borrowing from little boys’ outfits the Eton (actually the school wore very stiff collars which were attached to washable shirts) and slightly smaller Peter Pan collar has gone in and out of fashion. My mother always said she “couldn’t bear” the Peter Pan – I have no idea why. They are a simple collar to draft and can look quite fresh. Even my son Gus (who hates looking at pictures of vintage patterns) immediately associated the look with Moonrise Kingdom.
Peter Pan collar
Which collar styles do you like wearing, and making?


You must be logged in to post a comment.